Kitchen Worktop Joint Problems — Gaps, Swelling and Leaks
Worktop joint problems — gaps, swelling and leaks — are caused by poor cutting, insufficient jointing bolts, or missing silicone sealant. A correctly made joint uses a router-cut mitre or straight butt joint, sealed on all surfaces with silicone before assembly, pulled tight with jointing bolts and left to cure. No gap should be visible from above.
- Laminate worktops swell rapidly when moisture penetrates an unsealed joint — the damage is often irreversible within weeks.
- Jointing bolts (also called worktop connectors) must be spaced at no more than 300 mm intervals and pulled as tight as the laminate will permit.
- All cut edges — including the underside of the joint — must be sealed with silicone before assembly, not just the top seam.
The Problem
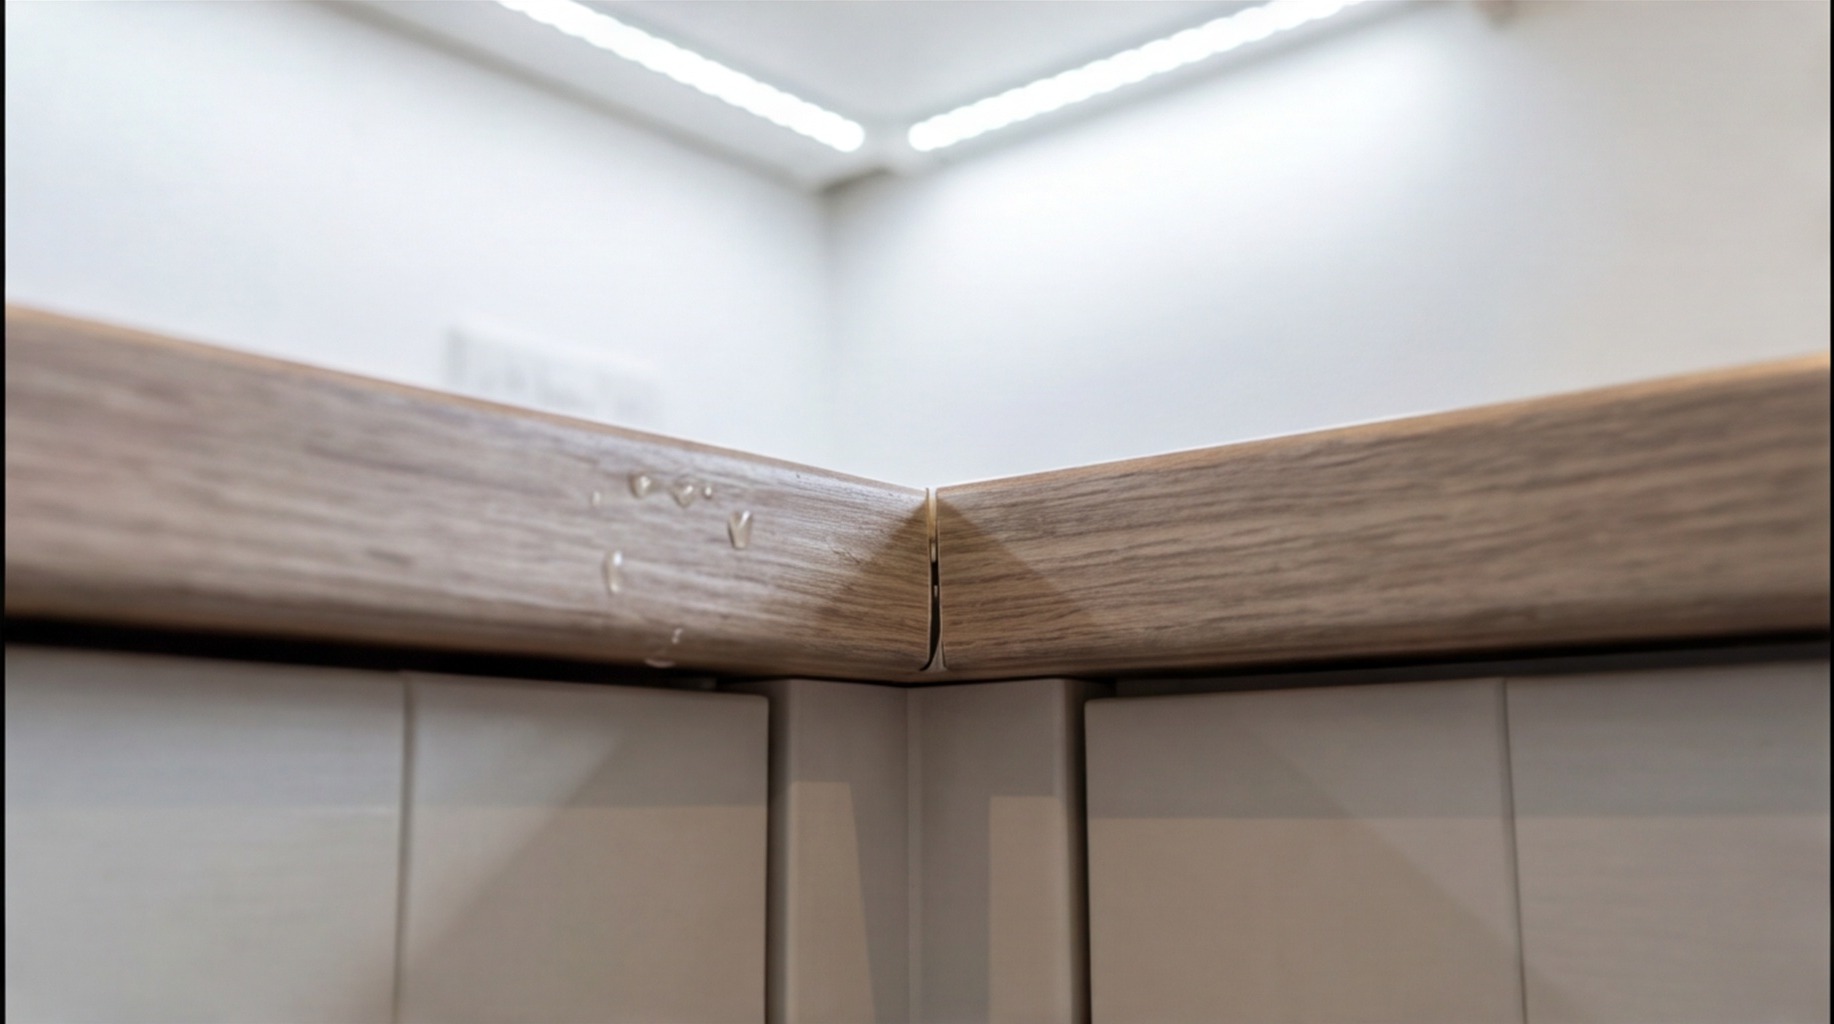
Worktop joints that are poorly fitted allow moisture ingress, causing swelling and delamination — particularly with laminate worktops near the sink.
Laminate worktops are manufactured from a moisture-sensitive chipboard or MDF core with a thin decorative surface bonded under pressure. The factory-bonded surfaces are water resistant, but any exposed cut edge is immediately vulnerable to moisture ingress. A worktop joint that is not perfectly tight, fully sealed and kept under compression by adequate jointing bolts will allow water — from condensation, cooking steam, or the occasional spill — to penetrate the core. The chipboard swells, the laminate lifts, and within a short time the joint is visibly delaminated and structurally compromised. This damage cannot be reversed; the worktop must be replaced.
The joint configuration matters too. Mitre joints — where both pieces are cut at 45 degrees to meet at a corner — are more complex to cut accurately than straight butt joints, but they are structurally stronger at the corner and, when well made, look superior. Straight butt joints are appropriate where the run of worktop meets a wall and the joint is not under the same mechanical stress. In either case, a router is the correct tool: a hand-cut joint with a jigsaw will always have micro-gaps that allow moisture in.
The Solution
Correct worktop jointing requires precisely cut mitre joints (or butt joints on short runs), correctly sealed with silicone and jointing bolts pulled tight. Stone worktops are templated for perfect fit.
Our fitters use a router and straight-edge jig to cut all worktop joints. The mating surfaces are cleaned, then silicone is applied to all faces of both pieces before assembly — not just the top surface. The pieces are brought together, the jointing bolts are inserted from below and tightened progressively, and any excess silicone that squeezes out from the top seam is removed while still wet with a damp cloth. The joint is then left to cure for a minimum of 24 hours before the worktop is put into use.
For stone worktops — granite, quartz or solid surface — the process is different. Stone does not absorb moisture in the same way as laminate, but a poor joint in stone is immediately visible as a gap or step. Our practice for stone is to arrange templating by the stone fabricator before any cutting is done: the fabricator produces a digital or physical template of the exact worktop layout, and the stone is cut to this template in the workshop. The result is a joint that fits with sub-millimetre accuracy. The seam is filled with a colour-matched resin adhesive and polished flush.
How a Survey Prevents This
During our £195 pre-installation survey, the fitter assesses the worktop layout, identifies the number and type of joints required, and notes the position of any joint that will be near a water source. Where a joint falls close to the sink or hob, the survey flags this so additional care can be taken during installation. For stone worktops, the survey provides the measurements needed for the templating appointment.
To book your pre-installation survey, call Install My Kitchen on 07399 651836 or visit our survey page. We cover Coventry, the West Midlands and the surrounding area — survey appointments are typically available within two weeks.
Frequently Asked Questions
Once the chipboard core has swollen, the damage is permanent. The affected section of worktop — at minimum the entire piece between two cuts — must be replaced. This is significantly more expensive and disruptive than getting the joint right at installation. If swelling is minor and recent, drying the joint out and resealing it may slow the damage, but the worktop will always remain weaker at that point.
As a general rule, jointing bolts should be spaced at no more than 300 mm along the length of the joint, with at least two per joint regardless of length. A typical 600 mm run of worktop in an L-shaped kitchen will have two or three bolts per joint. The bolts must be tightened evenly to avoid pulling one edge up while the other remains low.
Both. Silicone should be applied to all mating surfaces — the vertical face of the joint, the underside, and, after assembly, a small bead run along the top seam before it is smoothed flush. Applying silicone only to the top seam after assembly is insufficient: water can still enter from the underside and from the vertical face.
Book a Survey to Avoid Installation Problems
Our £195 pre-installation survey identifies issues before they happen — fixing floors, walls, deliveries and specification before your fitter arrives. Credited back in full when you proceed.